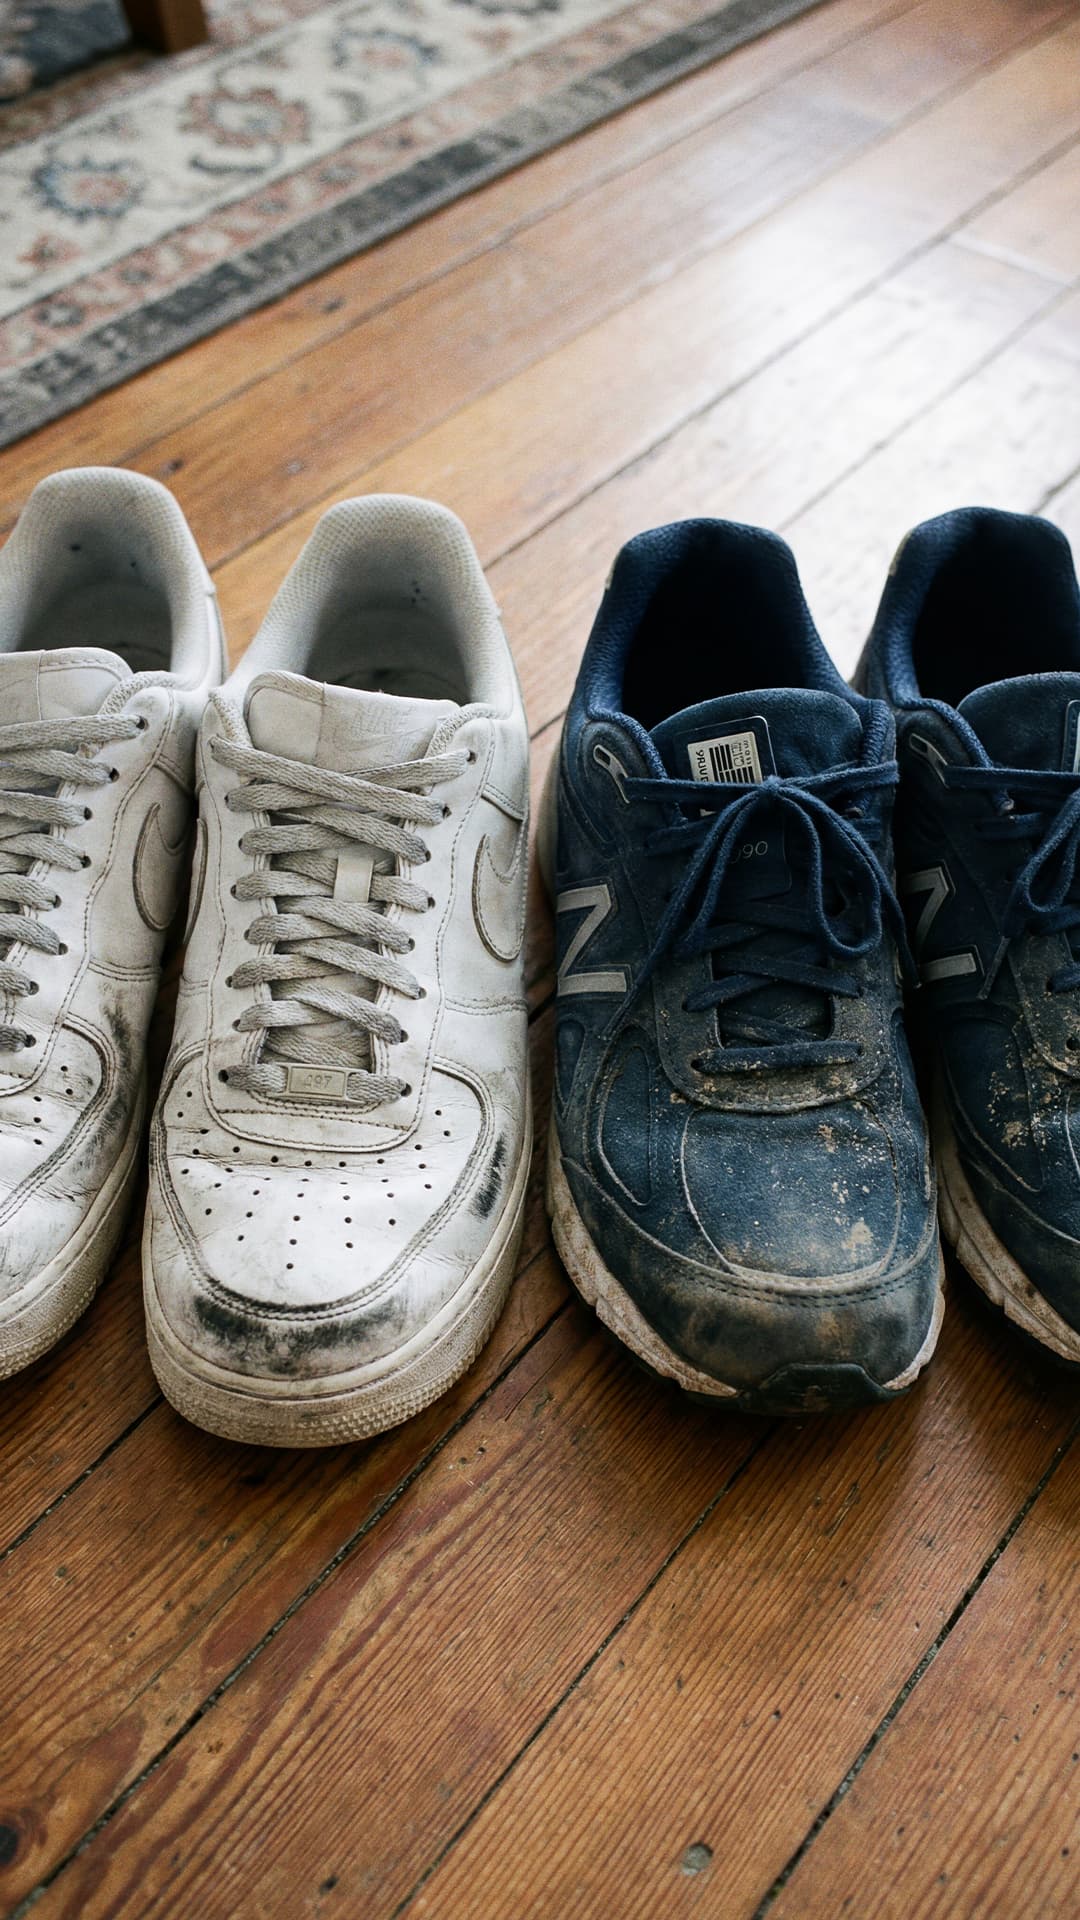
Most damage we see wasn't caused by wearing the shoes
It was caused by cleaning them wrong. That's the part no one talks about. A pair comes into the studio with water rings, cracked suede, or faded mesh — and nine times out of ten, somebody tried to clean them at home first.
These are the three mistakes we see most. If you're a DIY-er, read this before you touch your next pair.
Mistake 1: Soaking suede or nubuck with liquid
This one hurts to see. Someone notices a scuff on their New Balance 550s or a dirt mark on their Jordan 1 Mocha toe box, grabs a wet cloth, and starts scrubbing. Within 60 seconds, the suede is blotchy, stiff, and streaked — often worse than the original stain.
Suede and water are not friends. Suede fibers open and clump unevenly when saturated. The dirt from the stain spreads outward before it's lifted. What you're left with is a water ring that's bigger and more visible than the original problem.
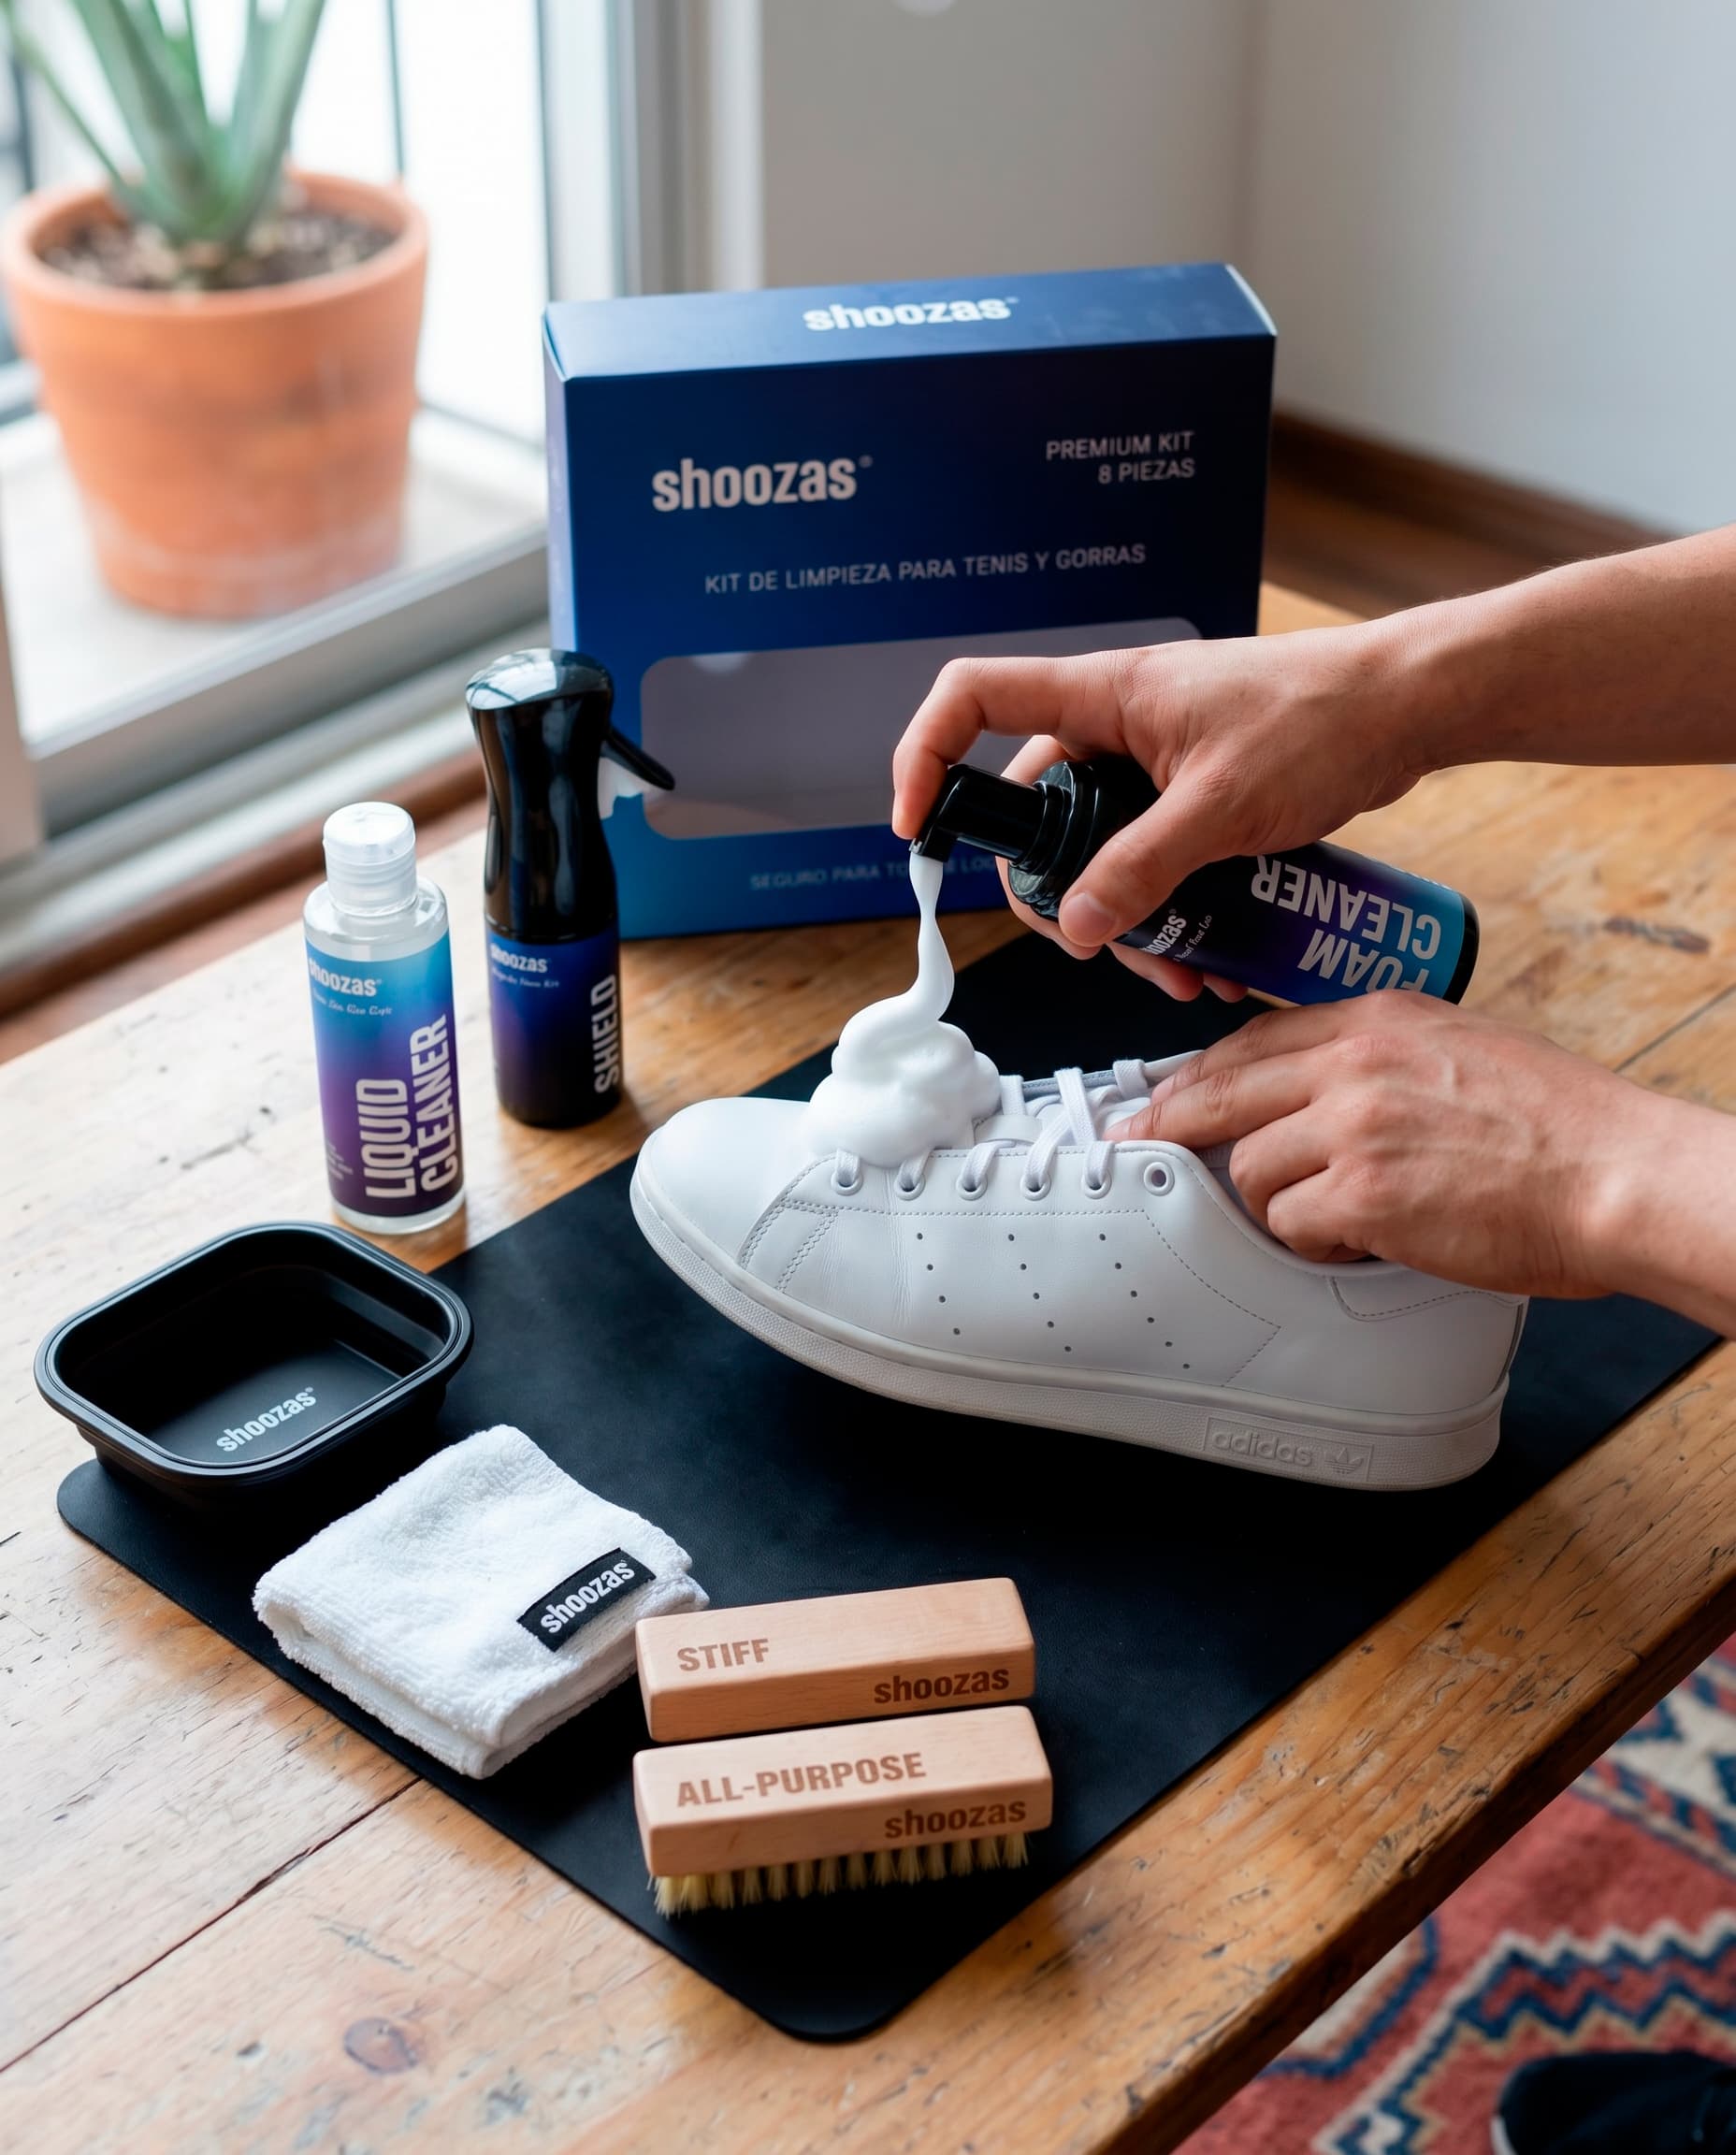
The right move: dry-brush first, always. Remove loose surface dirt before any moisture touches the nap. We do this on every suede pair we receive — it prevents most streaking before we even get to a cleaning agent.
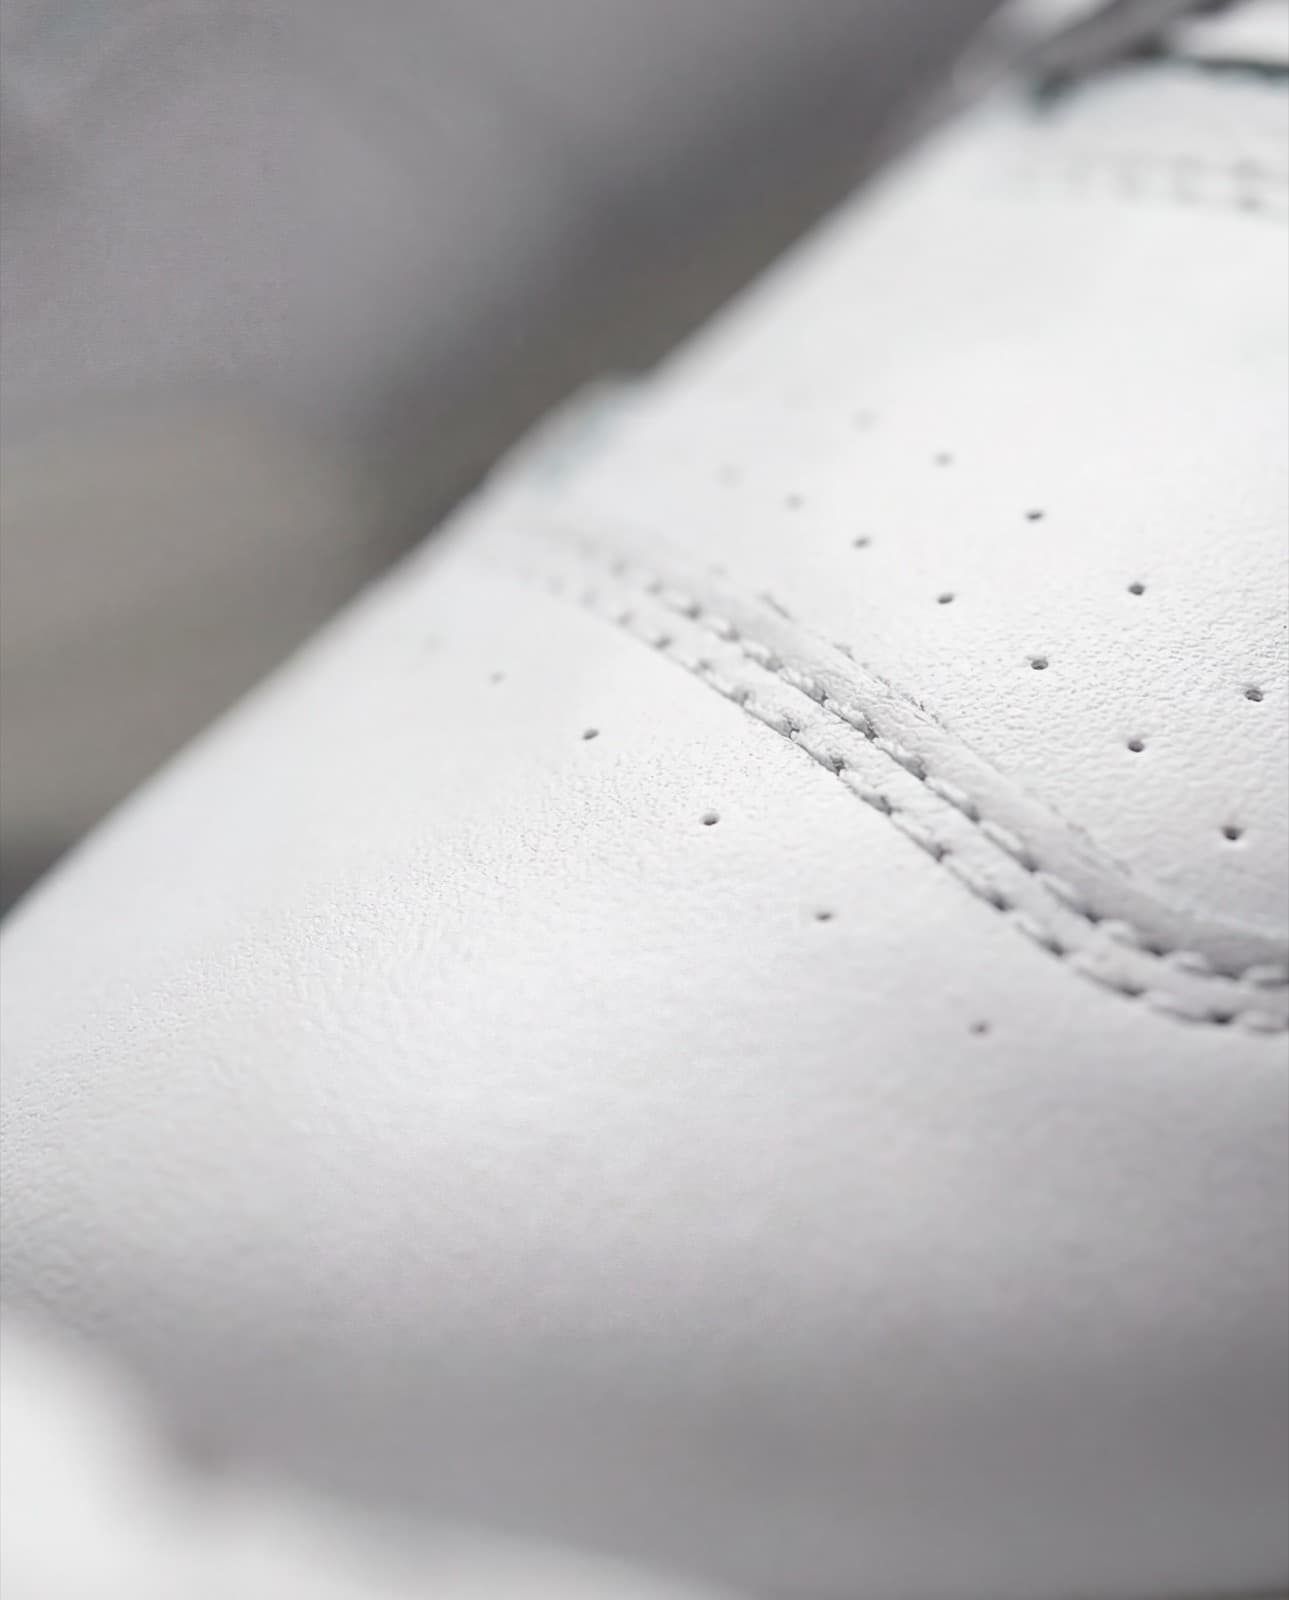
Mistake 2: Cleaning mesh with a stiff brush
Mesh on shoes like the Air Max 270, Yeezy 350, or New Balance 990 is structural. It's not just visual texture — those tiny fibers hold the shape of the upper together. Scrub too hard with the wrong brush and you'll see pilling, fraying, or small tears that can't be undone.
We see this constantly. The customer was trying to remove a dirt spot and ended up with a fuzzy, distorted panel. No amount of cleaning fixes that — it's physical damage to the weave.
On mesh, we use soft natural-bristle brushes with controlled pressure. It takes more passes and more patience than a stiff brush would. That's intentional.
Mistake 3: Not rinsing out the cleaner
This is the sneaker cleaning mistake nobody thinks about. You apply a foam or liquid cleaner, scrub, feel good about the result, and let the shoes dry. Then they dry with a soapy residue baked into the material — and the "clean" shoe now has a white cast or stiff patches.
Cleaner left in the material also attracts more dirt faster. You basically pre-marinated the shoe for its next round of grime.
Always follow cleaning with a clean damp cloth to lift the product out. On thick midsoles or textured outsoles, this takes more passes than you'd expect.
The most common thing we hear from new customers: "I tried cleaning them and made it worse." We're not saying that to scare you off DIY — we're saying it because we see the results every week.
What cleaning can and can't do
Let's be straight: cleaning removes dirt, surface staining, grime, and odor. It refreshes how a pair looks and feels. That's what we do, and we're good at it.
What cleaning can't do is reverse physical damage — torn mesh fibers, deep scuffs that removed material, or structural creasing. If your pair has been scrubbed raw with the wrong brush, we can clean what's there. We can't rebuild what's gone. We'll always tell you that upfront before we touch a pair that's already been through it.
Honest limits are part of the service.
Send us the pair before the next attempt
If your sneakers are already showing streaks or stiffness from a previous cleaning attempt, we can often significantly improve the look — but the sooner you stop, the better we can do. More DIY passes usually compound the problem.
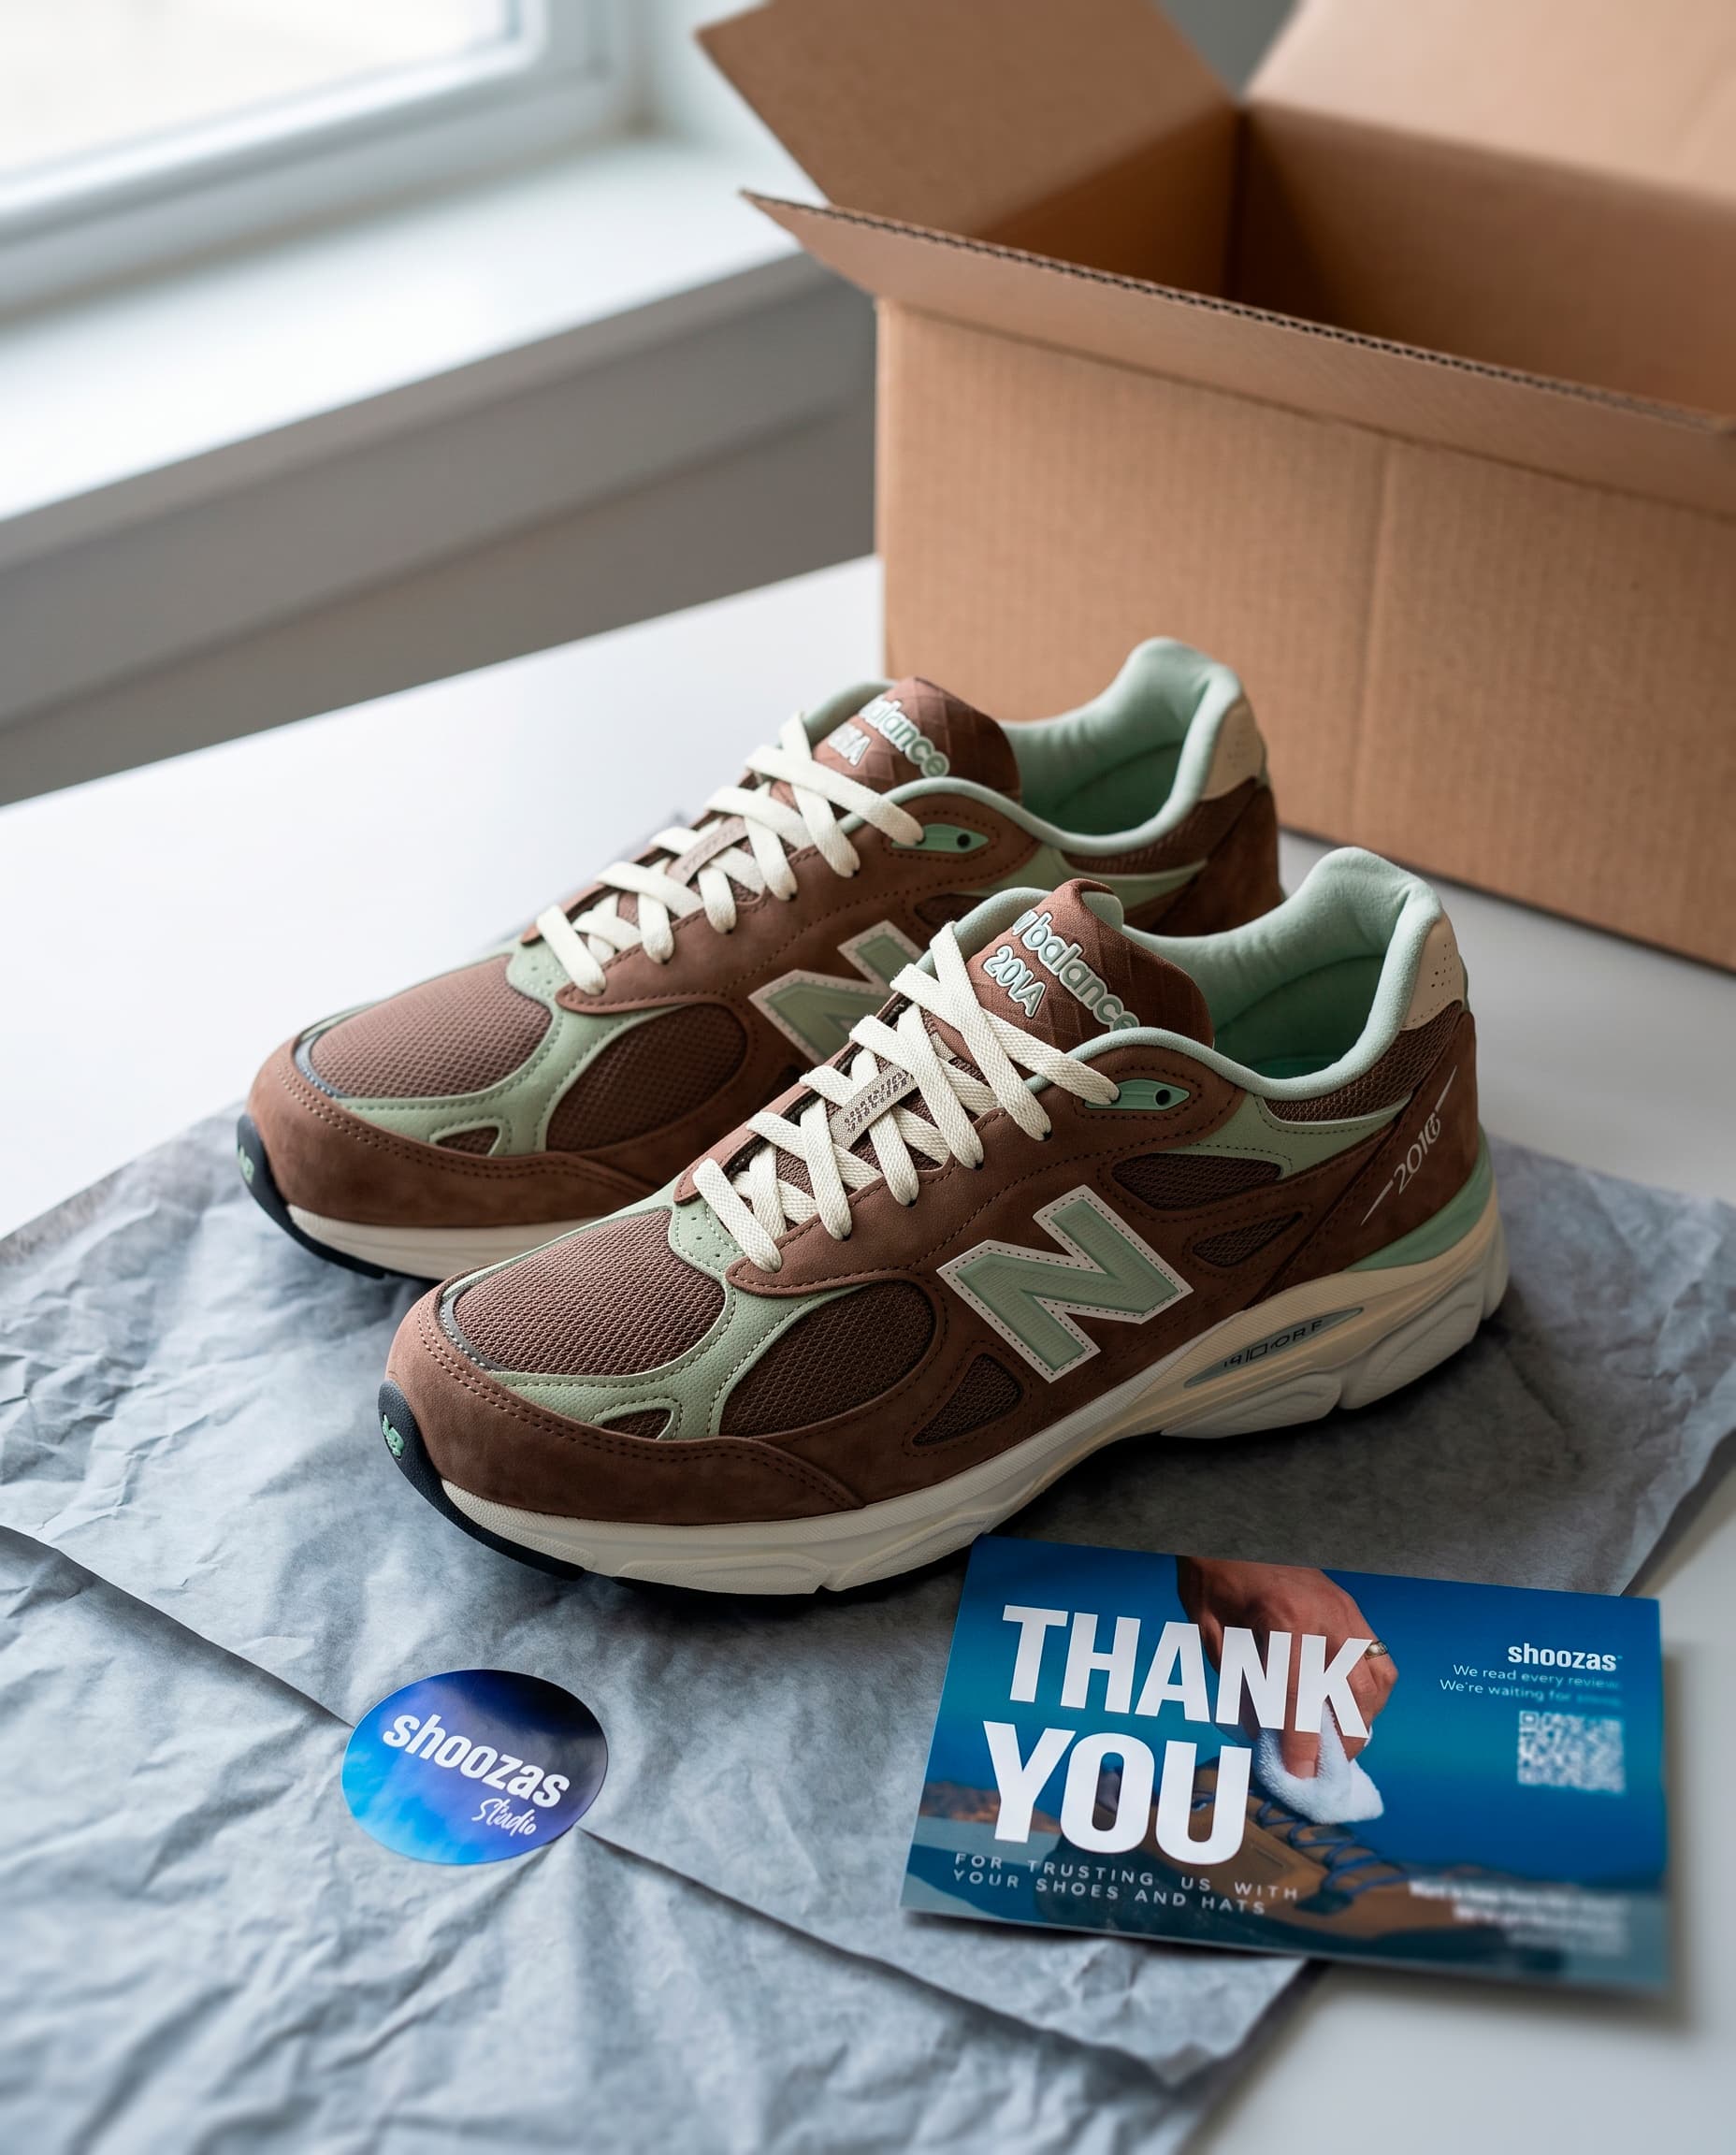
If you're sitting on a pair you're nervous to touch, that's exactly what we're here for. Ship them to us with a prepaid label, we hand-clean them with the right process for that specific material, and ship them back ready to wear. No guesswork on your end. Check our FAQ if you have questions about what we accept.